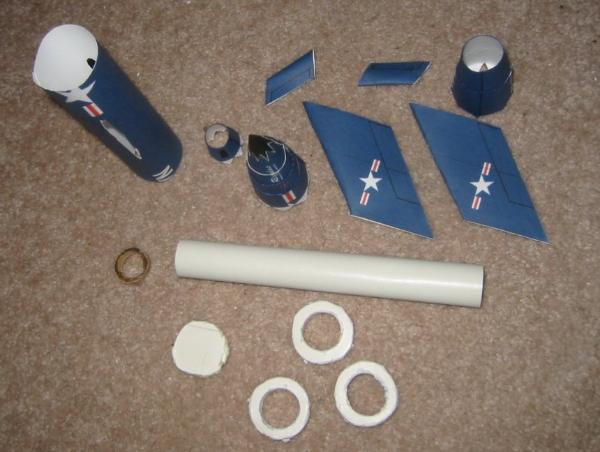
Strengthening Paper Model RocketsI thought I would share how I strengthen paper model rockets. While paper rockets are cool, they are prone to damage due to transport, flights, and landings. The following tips should help you get a little more mileage out of your paper rockets. I have selected for my paper rocket the Regulus, which is available from Eric Truax's site: (http://www.dpileggispicks.com/highflyingcards/) The Regulus was apparently the US Navy's first nuclear armed cruise missile, and was actively tested from 1955-1966. Another site with info about the Regulus is at http://www.wa3key.com/regulus.html. Step One: I cut out all the parts to the rocket. This is the most time consuming and tedious process to paper modeling.
Step Two: Forming the Parts Next, I form the parts of the kit. Generally, this means rolling the nose cones and body tubes as well as fin/wing construction. Once the rocket is formed, I can piece the parts together to figure out how I am going to fit a motor in the rocket. I measured a BT-20 to fit inside, and made sure this was cut to the correct size. Next, I used some of that foam-board that you can get at Michaels or Dollar Tree. I traced some centering rings to go between the BT-20 and the inner diameter of the main body tube. In this photo, you can see the cut centering rings. This is a way to strengthen a paper rocket internally. The foam board is very strong, but very light-weight as well.
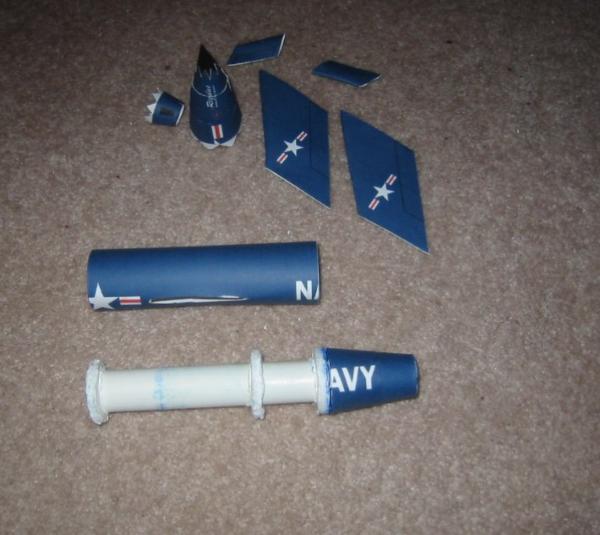
The next step includes the construction of the motor mount with the centering rings glued into place.
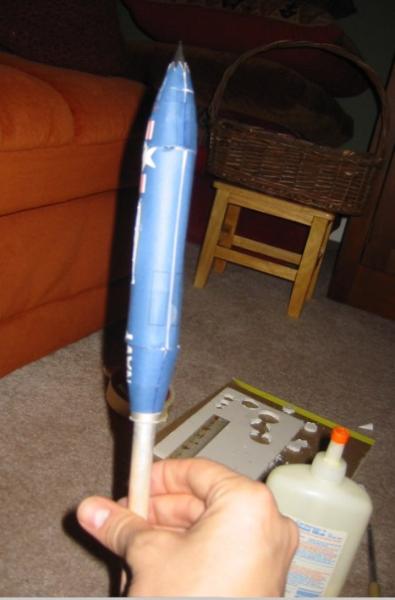
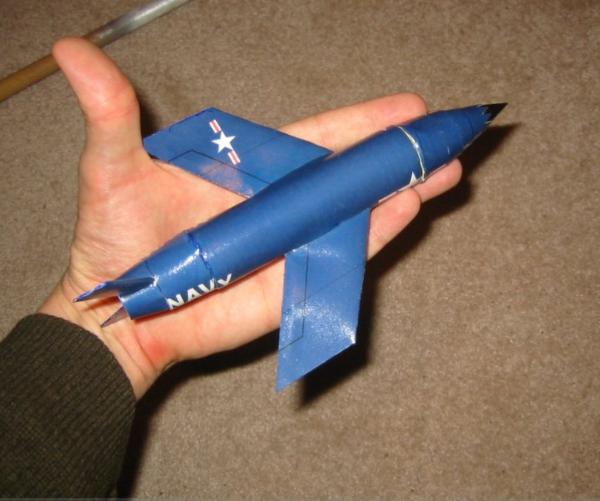
Step 3: Next up, I put the main body tube, motor mount and lower boat tail together. At this point, you may be wondering why I inverted the nose cone. Partly, I did this for looks as I like the pointed nose. Second, I wanted a rocket that was slightly more aerodynamic than something with a ram scoop type of nose in the front. Hey, it's my rocket. I can do what I want.
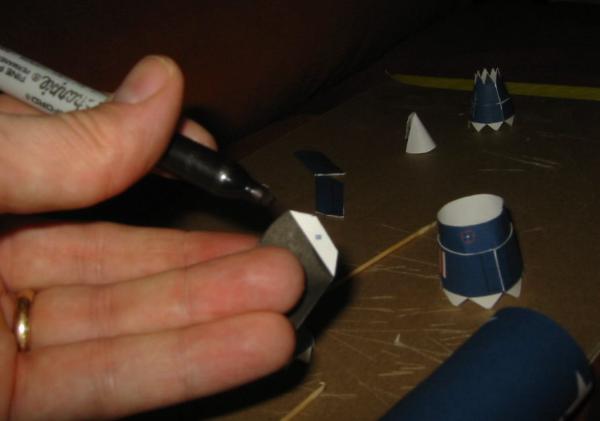
A Side Note When putting together paper rockets, there are always those pesky white lines that appear when you merge or glue parts together. One of the tricks in the trade is to use a black pencil or pen to darken the edges of each part. In this project, I used a black Sharpie and a navy blue felt tip pen. This step does nothing to strengthen the rocket. It just makes it prettier.
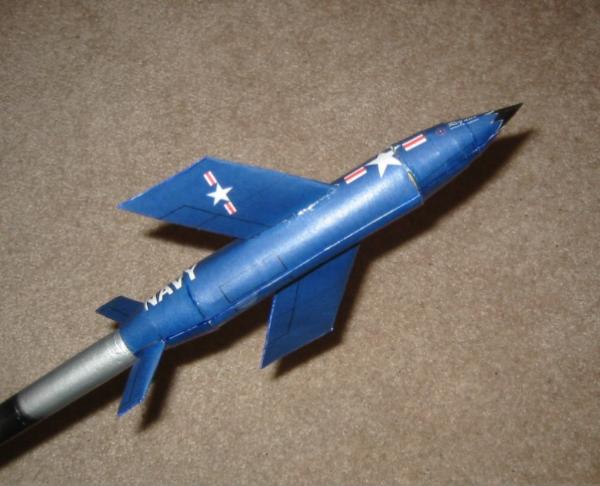
Here is a picture of the completed rocket. Before I add strength externally, I want to seal the rocket with a clear coat of acrylic so that the ink doesn't run. The Regulus here has been airbrushed with Future Floor Polish is now awaiting the final step in the strengthening process. Here are steps you don't see in photos:
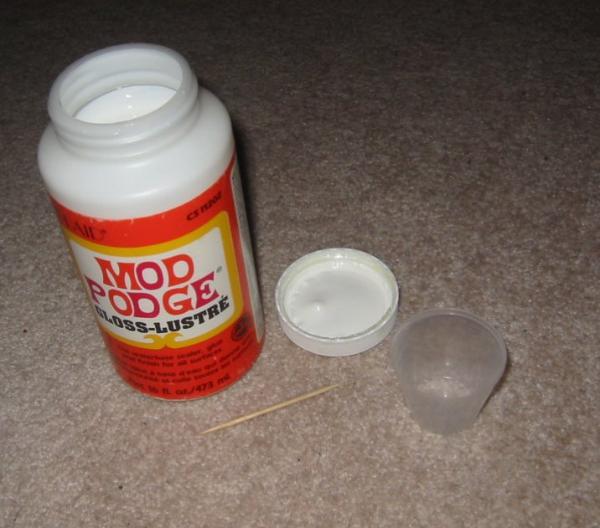
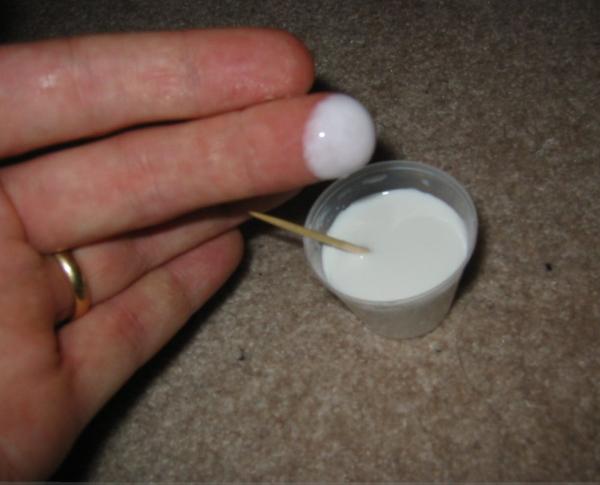
Step 4: the Mod Podge After the clear coat is dry, I add three or four coats of Mod Podge. I used to brush on the Mod Podge, but this leaves ugly "paint streaks" and the surface has ridges on it. I then began experimenting with airbrushing Mod Podge to great success. To prepare for airbrushing, I start with a small amount of Mod Podge, usually about a tablespoon.
As you can see from this photo, Mod Podge is fairly goopy, which is not conductive to airbrushing.
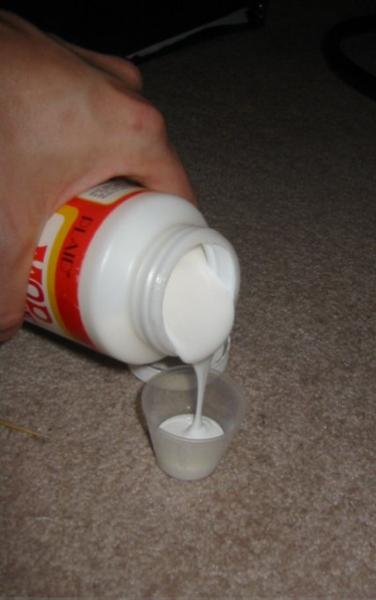
I add a small amount of water, bit by bit, to thin the Mod Podge down a little.
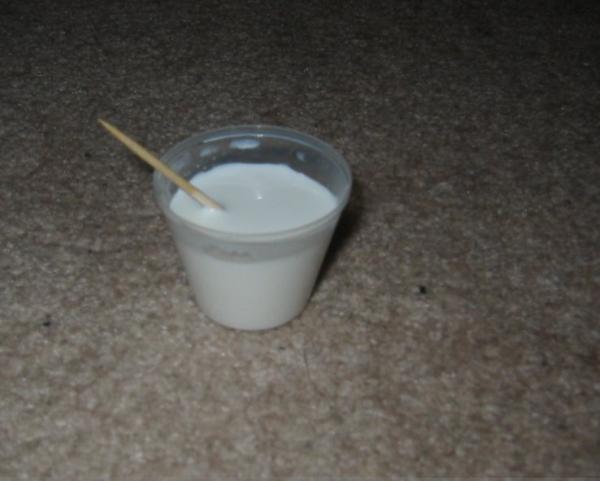
The consistency I am looking for is something like heavy cream. It should be thin enough for the airbrush, but thick enough to stick on the rocket and not run all over the place. In this photo, I have dipped my finger in the prepared Mod Podge. As you can see, it really isn't running, but it is a thin consistency. Next up: Airbrushing the Regulus.
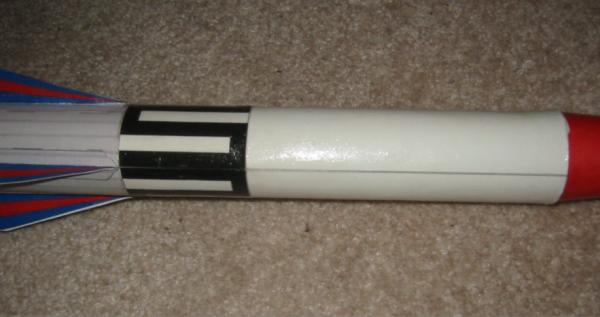
Here is the Regulus now after two coats of airbrushed Mod Podge. The fins are now stiffer and the body tube is more dense. (I usually add another two coats or so to really toughen up the rocket for durability, shape during flight, and landings.
Here is another paper rocket of mine (a Model Minutes kit) which I painted with Mod Podge using one of those foam brushes. While the Mod Podge works the same way, it does leave behind undesirable streaks.
Summary: So, here are my tips in a nutshell for strengthening paper models:
Contributed by Clive Davis
What You Can Do |
|||
|
|