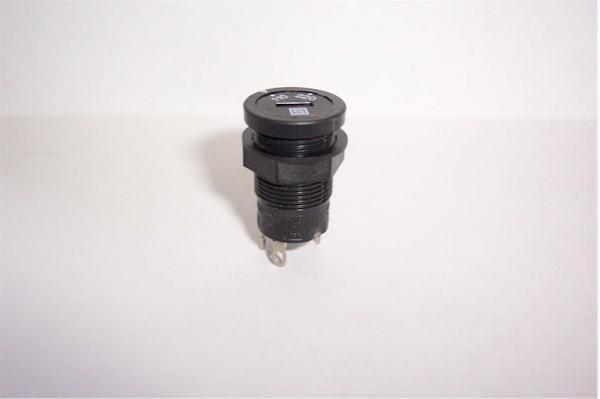
Adding an Altimeter ON/OFF SwitchThis tip describes how to add a reliable on/off switch for any onboard electronics. You will need to obtain a 2-Pole Rotary Switch from Missile Works (www.missileworks.com) or some other supplier. The switch from Missile Works will run you $4.00 plus S&H.
Solder two wires to the leads so that when the switch is rotated the continuity between the two leads is turned on and off. Make sure to use shrink tubing around the soldered leads so that nothing will interfere with the operation of the switch. Next, obtain a used 18mm Estes or comparable motor casing.
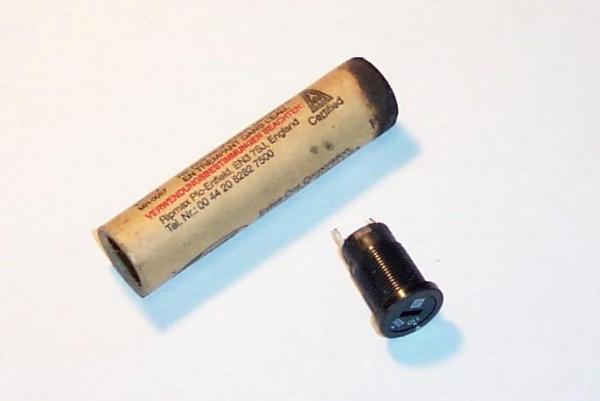
Take a ½" drill bit and drill out the center so that you remove any left over residue. Then cut the motor tube in half and sand the ends so that no burrs are sticking out. There are a couple of ways of attaching this switch. The first way involves drilling a half inch hole in the Ebay board and tightening the switch down with the supplied nut. The second way involves gluing the switch into the motor casing and then to the Ebay electronics board using two-part epoxy. Make sure not to get any epoxy in the switch itself. This may cause the switch to either not work or work improperly. Note: if you are not going to have to hole in the board to feed the wires from the switch through then you need to make a small notch in the used motor casing so that the wires can be angled through as seen in the photo below.
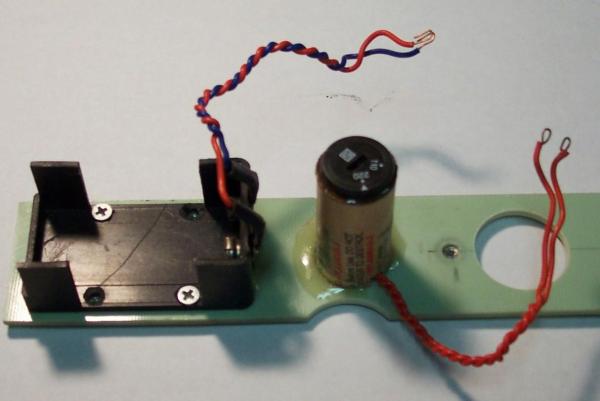
All you have to do now is to attach the wires into the electronics switch output or insert them inline with the positive "+" line coming from the power source. The photo of one of my setups is used in conjunction with the new Missile Works RRC2 Mini which has a separate on/off switch input. Contributed by William Beggs
What You Can Do |
|||
|
|