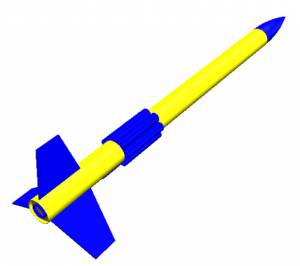
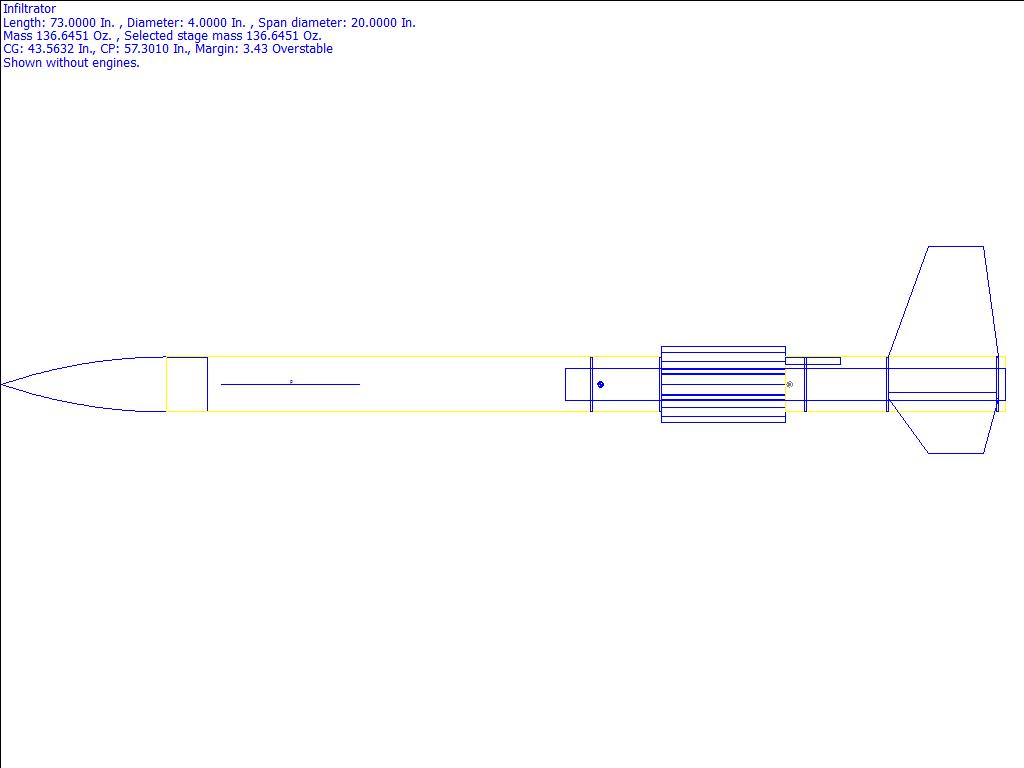
 Infiltrator Rocksim Design FileThis was my entry in the Wildman design contest in August of 2011. It's designed to be constructed from Performance Rocketry fiberglass components. The design is inspired by the classic Estes Shadow and Optima kits. But, instead of the upper fins, the Infiltrator features a ring of tubes embedded in the main body tube. Standing over 6 feet tall, the Infiltrator streaks into the sky on a 54mm motor. Parts List: (1) Nose Cone - Fiberglass – 3:1 Ogive (1) Upper Body Tube – Fiberglass – 4" diameter, 36" long (5) Centering Rings – Fiberglass – 4" to 54mm (1) Lower Body Tube – Fiberglass – 4" diameter, 16" long, Slotted for three fins (1) Motor Tube – Fiberglass – 54mm motor, 32" long (7) Decorative Tubes – Fiberglass – 38mm motor, 9" long (3) Fins – Fiberglass - Trapezoidal Assembly: Glue one centering ring to the 54mm motor tube, 8.5" from one end. Glue another centering ring to the 54mm motor 14.5" from the same end. Let the glue dry. Slide the motor tube assembly into the lower body tube. Slide it in from the bottom with the upper centering ring (the one at 14.5") going into the tube first. Stop when the bottom of centering ring at 8.5" is aligned with the top of the slots in the body tube. Use a pencil to mark the inside of the upper body tube where the upper centering ring is located. Slide the motor tube assembly back from top (non-slotted end) of the lower body tube. Slide it back about half an inch. Use a stick to apply a ring of epoxy adhesive around the inside of the body tube where the line is marking the upper centering ring location. Slide the motor tube assembly back into place (again stopping when the lower centering ring's bottom is aligned with the top of the fin slots). Glue each fin in place in a fin slot. Do one fin at a time. After the glue is dry, use a stick to apply a fillet of epoxy to the edges of each fin where the fin meets the body tube. Let the fillets dry. Glue a centering to the bottom of the motor tube against the ends of the fins. Let dry. Glue the 9-inch 38mm tubes in a circle around the motor tube extended out of the top of the lower body tube. Each tube should rest against the top of the lower body tube. Let dry. Slide a centering onto the top of the motor tube until it rests against the ring of 38mm tubes. Glue the ring in place. Glue the last centering ring 1" from the top of the motor tube. Let the glue on the centering rings dry. Drill a hole in the upper centering ring and attach a screw eye. Attach one end of the shock cord to the screw eye. Feed the other end of the shock cord through the upper body tube. While avoiding getting epoxy on the shock cord, apply a ring of epoxy to the inside of the upper body tube then slide it over the two exposed centering rings until it rests against the 38mm tubes. Let dry. Attach the end of the shock cord to the nose cone. Attach the parachute. Glue the launch lug to the lower body tube, just below the ring of 38mm tubes, making sure that the launch lug is aligned so that the launch rod will go through one of the 38mm tubes.
Designer: Roger Smith To use the design file above, you need a copy of Rocksim, a rocket design and simulation program. Kit Name: Scratch - Infiltrator {Scratch}
CG: 43.5632 inches from front Parts Breakdown
What You Can Do |
||||
|
|